...
- At the first screen, click Next to continue with the installation.

- At the Destination Folder screen, you have the option to specify where to install the CCA. Change your settings if needed and click Next.

- After choosing the Install path, enter your Account ID. You will need to have the correct Account ID to login to the software. If you are unsure of what your Account ID is, contact your service provider.

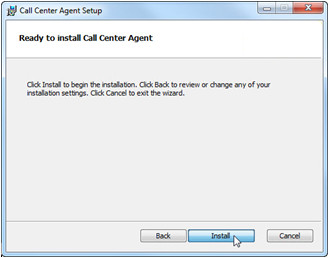
- Now the software is ready to install. To confirm installation click Install.
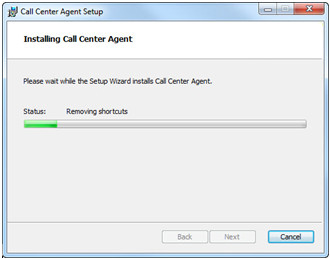
- A status bar will appear letting you know the progress of the installation.
- When your installation is complete the Installation Complete window appears notifying you that the CCA has been successfully installed, click Finish.

Note: For instructions on signing in and using the CCA please refer to either the CCA Application Guide.